Thursday, October 25, 2012

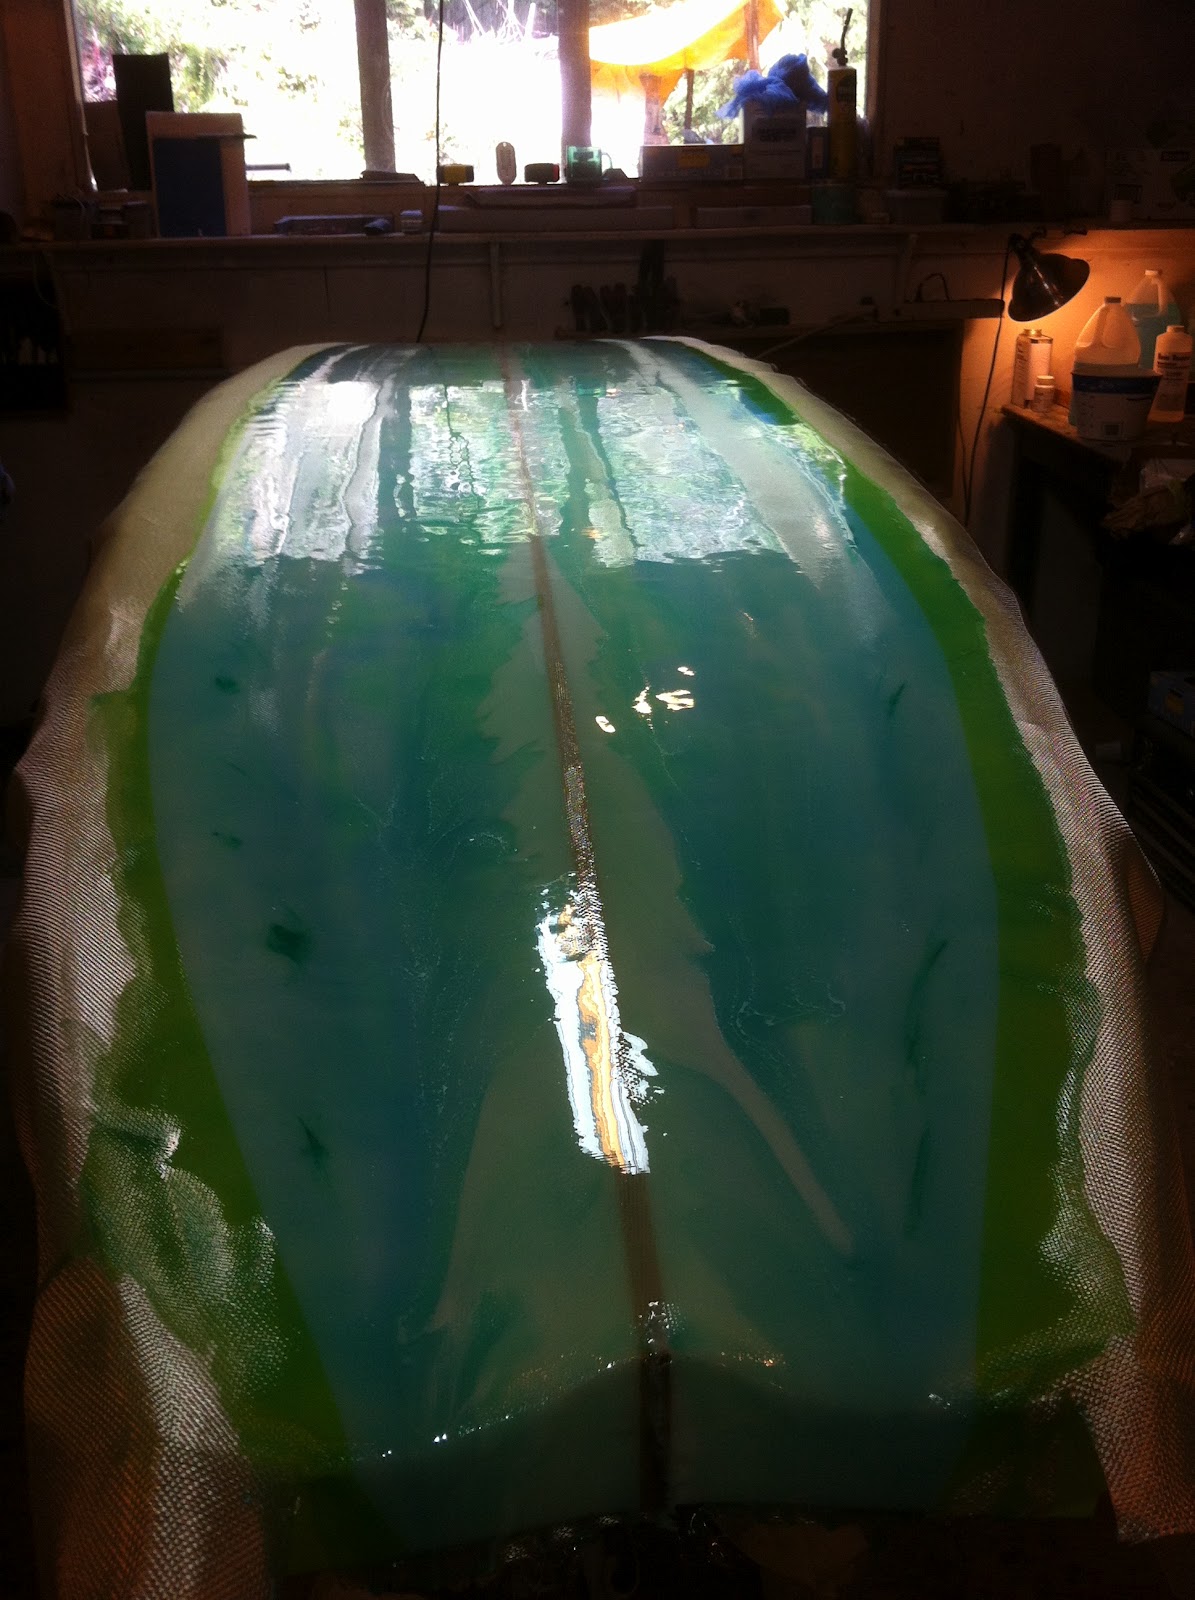
Custom surfboard, with custom logos and color.


A small fat board. Made for small waves limit in power. An odd shape. In this case makes for a super fun small surfboard . Capable of letting you climb out on the nose. The Green Cow!
This board has alot of special sauce running down the underside belly.


Washington state. Hand shaping custom surfboards paddleboards etc..

From surfing the north west waters,...This gives me the ideas needed  to design and build boards that respond to the Pacific North Wests waters. Being around the water my whole life, from being born on Vashon Island WA.. To living on a 36' steel Roberts sail boat. on the Port Townsend  docks, and main boat yard... As we always seemed to be working on that boat,... The steal Roberts was Remodeled From a old troller that fished Alaska. To a round the world cruiser..

Now some of the latest boards built.

Surf paddler.


flat water barge. paddler.


Fish surfboard.


Short board with extra float.


Thursday, May 3, 2012

Surfboard painting, logos, color resin tinting.

Considerable trial and trial over and over is what it takes to figure out good ways on coloring or painting your surfboards with good methods comes good return.

There are two different boards below one is a 6' fish and the other is a 10' paddle board.
both branding the 308 degree logo for the pacific north west surf areas. Both designs are inspired by the PNW along with the art. The greens and blues, along with the big gray rails of the paddle board, with a nice green smeeer down the middle. The quad fin fish has a northwest swell hand drawing, eating up the state of washington 308 degree logo


pin line

after gloss

after gloss

some of the first sun of the year.

color tinted resin poured on

taped off and gelling up

308 deg logo with the gloomy gray north west  rails  coloring starting.

rails colored in gloom gray.

fins in

glossed the bottom.

Custom fiberglass E.P.S. & PU FOAM. PADDLE BOARDS,SURFBOARDS.

I have jumped away from only building wood surfboards, I have had the chance to work with foam, the results were great.
Using pigments and old school shaping style. Did not even use the power planer until i was able to be satisfied with my boards without using one. The one thing i do not like about the foam is the wast of foam dust. While wood saw dust can be reused into couple other uses other than garbage. Using the foam dust after being on the floor and mixed with dirt and other debris. I Do not have much use for the foam dust at this point. On the second  to last pic you can see how much foam dust is in the shop.

Below are a couple US blanks 10' paddle board blanks, along with couple pictures of shaping some lines in the blank. This is my Tanker 308 stand up paddle (s.u.p.) great for the pacific north west and Puget Sound Paddle boarding. Finished pictures with color tinted resin styling, will be on the next post.


Tuesday, November 1, 2011

Balsa wood surfboard build. Bottom planks and rails.


Building up the bottom deck surfboard planking. I set the planks on a pre-cut rocker table, the same Table I use to build the rails on. This gives the planks a little memory to the  shape of the surfboard, for when the planks are attached to the surfboard. I use all sorts of weights and clamps to keep the planks in place while they are glued together with only a couple cross pieces, to hold all the planks together. Don't forget your wax paper, don't glue your surfboard to your tools.
You must be extremely careful of the balsa wood, it dents so easy. The soft nature of the wood is why I lay so many weights out on the board, while it is being glued together.
The weights hold the wood pieces down without denting, all the clamps have wood in between the two heads of the clamps to keep them from marking the wood with dents all over.

After the planks setup i give 12 hrs or so before I start working with anything
 glued in most cases.
 You sure wouldn't want your new surfboard falling apart on you while you build it.
When the fiber glass resin has setup,  I cut the shape of the surfboard out of the planks that I glued together. After cuting out the surfboard template in the planks I A-line the frame of the balsa wood surfboard to the bottom planks. I always leave some extra room over lap. Using the rocker table.
This way the bottom planks and the surfboard rail line up nicely. following the same 
 clamping procedure. The frame and the bottom planks are now one piece. I will now carry this surfboard everywhere with me and show it off un finished   :) love surfboards so much....lol

So now that the bottom planks and the rails are together. I can sand some shape into the surfboards rails. I also have a huge step ahead of me putting in a whole bunch more, of what I call the surfboards skeleton.
I also have a center stringer to install down the surfboard. There will also be a-lot of cross pieces being installed. Its time to strengthen her up.


Wednesday, October 19, 2011

Balsa wood surfboard frame

I use wax paper as my release surface from my rocker table, As I build the surfboard up. There are other ways of doing this.But my pocket book holds me back.
 I also use duct tape to hold the wax paper to the underside of the table, this way the paper remains tight and secure. And if you don't have to much runoff after you glass your joints, layers or however your building your wood surfboard, you wont rip the paper while you remove your surfboard frame.

  All building aspects of wood surfboard construction take time, planning, money, and some space to work.
If you do not have the tools right off hand or any boat or ship right experiences building, there is going to be a huge learning curve ahead of you.With a couple surfboards under my belt  now, with failed and completed boards, I really do like working with the balsa wood for the first time this stuff is just so great. 


Three strips of wax paper run the table,  just in case a spill.
I don't want to glue my board to the table.
Three strips works best with this width.

I use some old sockets wrapped with wax paper
to hold some of the thin wood in place

cloths pin seem to work great in this application.
      After the small thin pieces of wood are all in place as the skeleton of the surfboard.
I then begin to build the surfboard skeleton up in thickness. This is detail time, make sure everything is square and true. You need the frame of the surfboard to be extremely perfect, for a epic outcome.


Wednesday, October 12, 2011

New surfboard build with balsa wood.


Short video below on balsa wood shaping.

Building with balsa is Great!
I really like the results that I am getting with this surfboard build.
The surfboard is going to have a red cedar bottom and a balsa wood top deck.With balsa wood rails.

Ordering the balsa wood was no problem at all, arrived at my doorstep within a week from ordering it.
I went right to work building my next board. Trying a design I have for small mushie waves, to about overhead wave size.
The surfboard will have a quad fin setup and a double concave tail for channeling the water at the fins while on rail.
So excited to open. I couldn't waite to get the
wood to my shop to open it.

My shipment of balsa wood
20 board ft plus a couple 1 1/2" 3' balsa sticks.


I cut the wood down into small workable pieces.
That's the begging layout on the template table.


Friday, September 23, 2011

Small Waves, Salt Creek, W.A.

south side bluff salt creek W.A
(ff-01) Fat Fish at salt creek
South side bluff salt creek.
small swells about 1.5'

One of the first things I noticed, was the boards ability to catch the waves early.
I hope the pics do the waves justice on how small the swell was.
  Would have been a good day for a paddle board, or a longer single fin longboard. Was still able to glide out on a couple small waves.
I have also decided that the board should be a single fin setup, the thruster fin setup acts as if it is complicating the surfboard. And it is possible the the extra fins are creating to much drag,  turbulence under the surfboard.
Removing the extra fins will hopefully help produce a little extra smoothness in the board on turns and in the flat and through the white wash.
The idea of shaving down the underside of the rails to make a more 50/50 layout on the rails has also crossed my mind. Taking the rails down a bit would hopefully hold the board in the wave better. With the harder rails that are currently on the board, give great planning ability but not much hold in the wave.
The paddling ability of the surfboard is so nice you glide right on top the water with little effort.  More reason to keep making some more surfboards.
Enjoying the ability to take the board back to the shop for changes and new custom features.
This last ride has created a huge stoke inside me.
I would like to make a paddle board for the salt creek, area. Fun place to go out and explore, also catch a couple waves. Less than one hr outside P.A.
More surfboards and adventures to come.

Thursday, September 8, 2011

Out to test the board.

I am back after heading out of town to test the Big Fish Surfboard.(Designed and built) by Bridger and Ross.The board has a little to much displacement for a guy of my size 5'9" 150lb.
   Once again, very first board, finished proper and, sent to the water to ride waves!

I was reading in a book one time. Of how it was the way of a tribe or tribes that surfed to build their first board for surfing,as a young man..

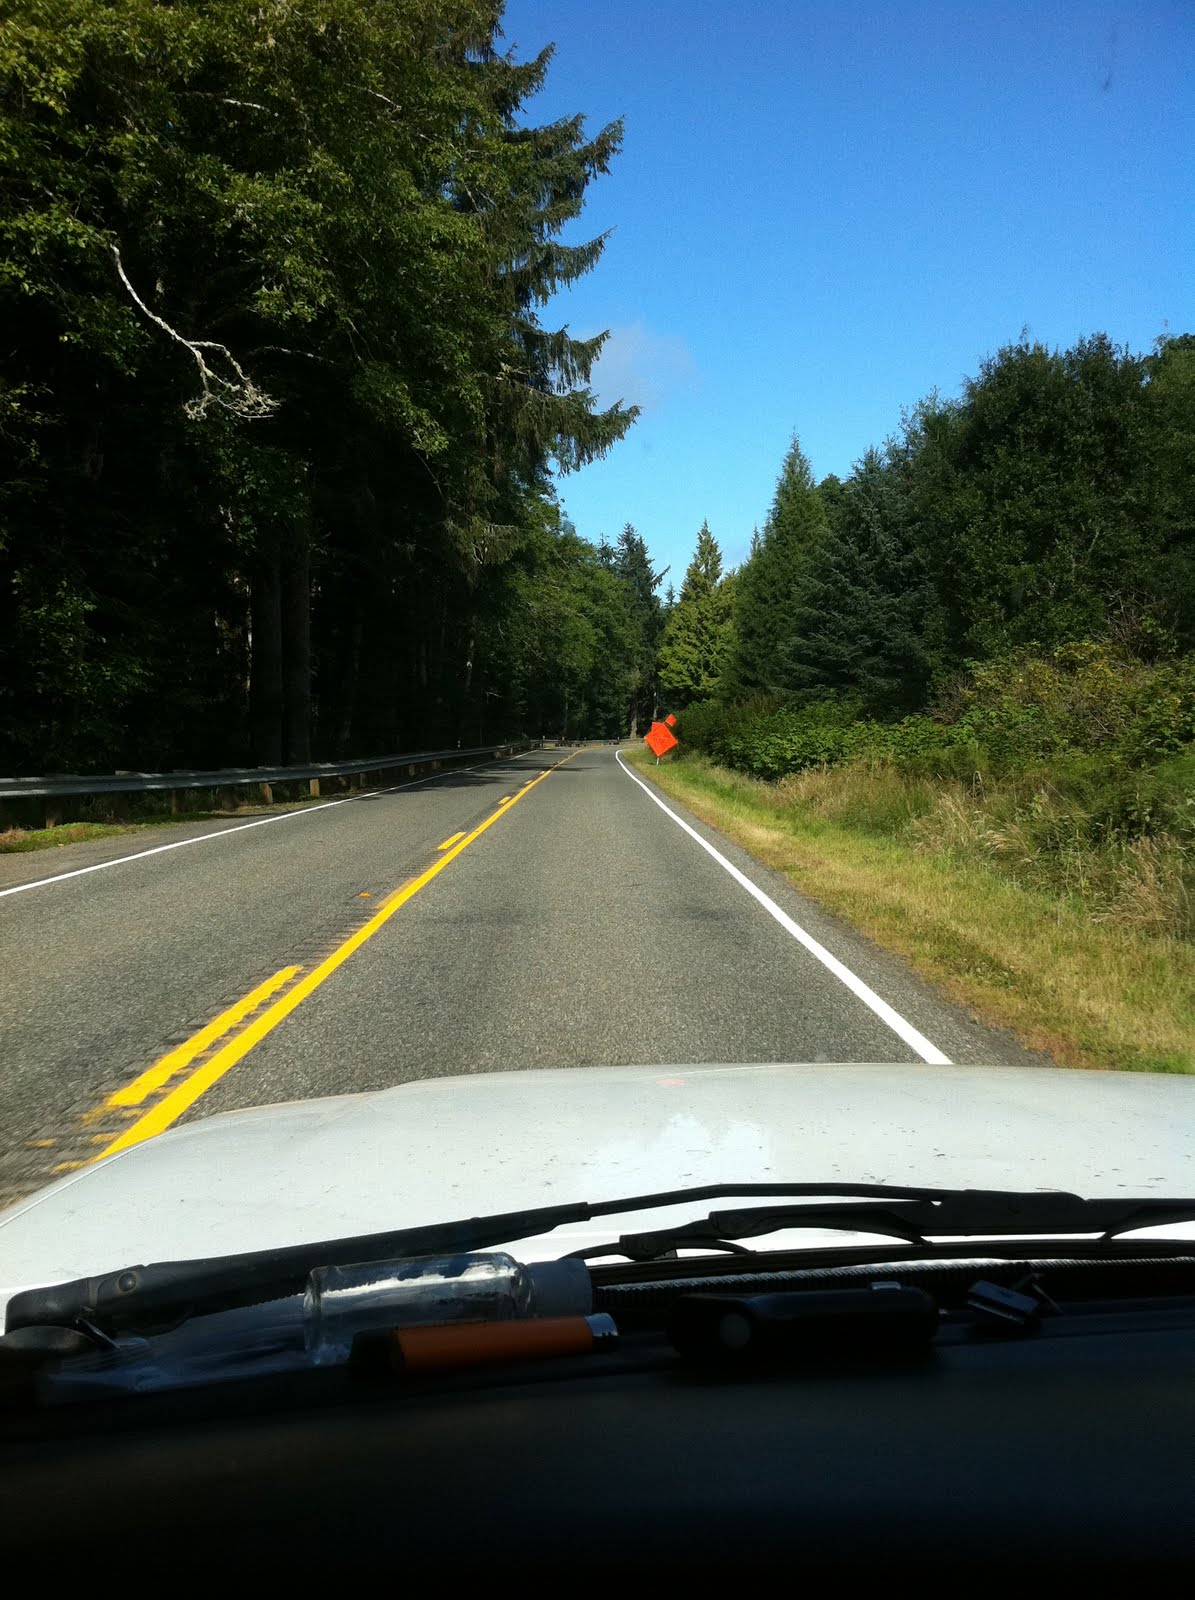
The drive to neaha bay
At one point a flagger was joking around
spinning the sign.
And stepped out
as if to stop
me,at the last sec and smiled.
waving me by..
Wanted to mention a brief indication of how I felt, heading for the ocean A 3hr. approx.drive.from where I'm located in Wa. Filled with anticipation.Reading that the swell and wave reports have been small slow and weak, but far apart. I was not expecting much in incredible waves. I was expecting a nice peaceful getaway with me and my girlfriend.So not to only go surfing, but to spend time away from working, and just the daily stuff.